Here at Kickly, we get excited everyday to help you create stunning sports visual content, in a matter of seconds. Let’s get started with the five steps to creating your first sports graphic.
1. Choose a template
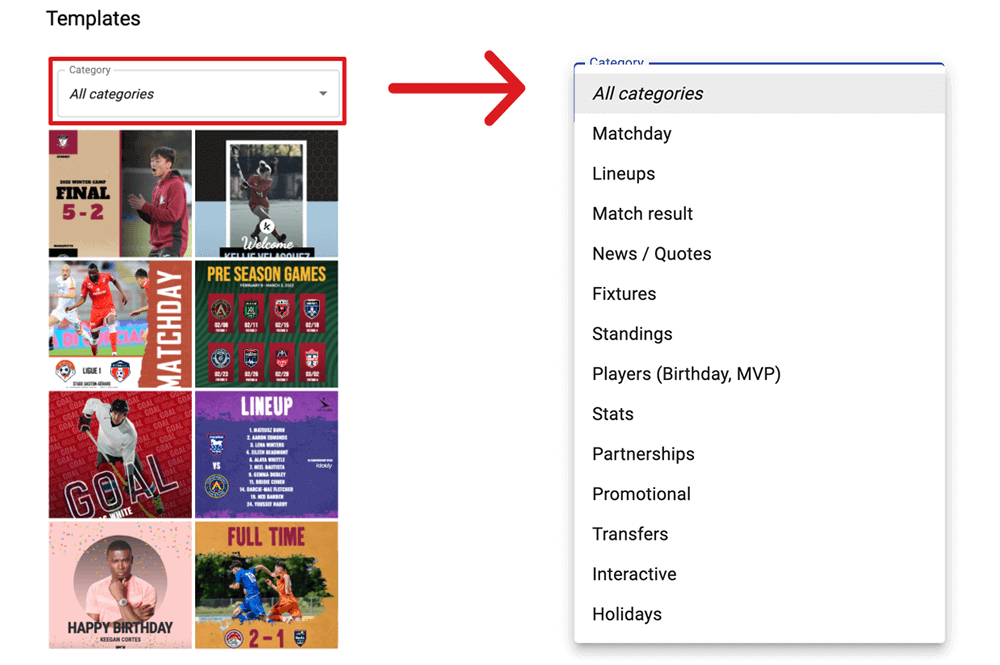
There are more than 100 free designs available to you right now. Log in and choose from a variety of options including Matchday, Lineups, Stats, and more.
Make sure the template doesn’t have a “Pro” badge in the top right corner.
2. Add your image
In the free version, you can only add photos by replacing an existing photo on the template. Simply click the background image or a logo you want to replace. A sidebar will appear on the left. Hit “Replace”.
Click here for more instructions.
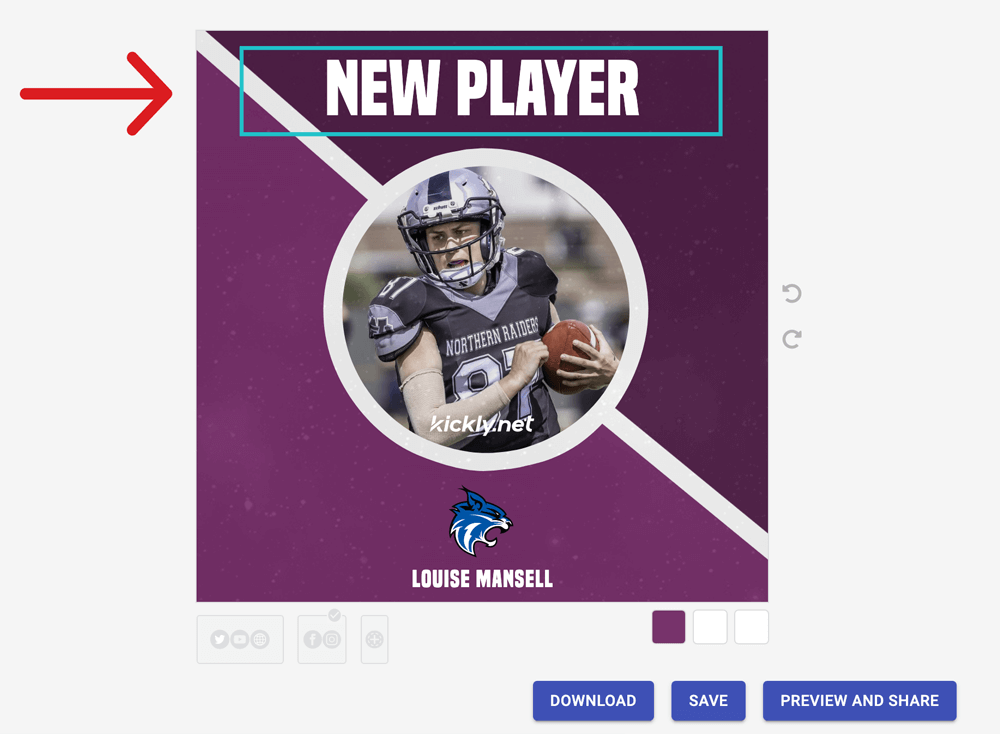
3. Edit text
To edit a text layer, simply double-click on the text box. The text box will then become highlighted. Delete or edit its contents, then click outside the text box to finish.
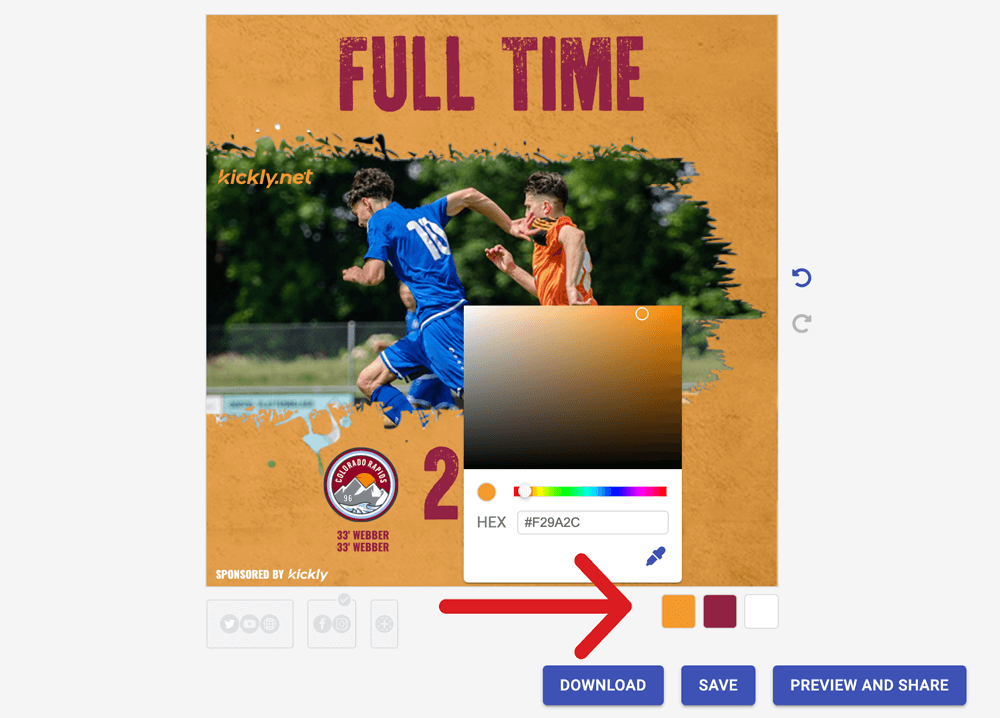
4. Change colors
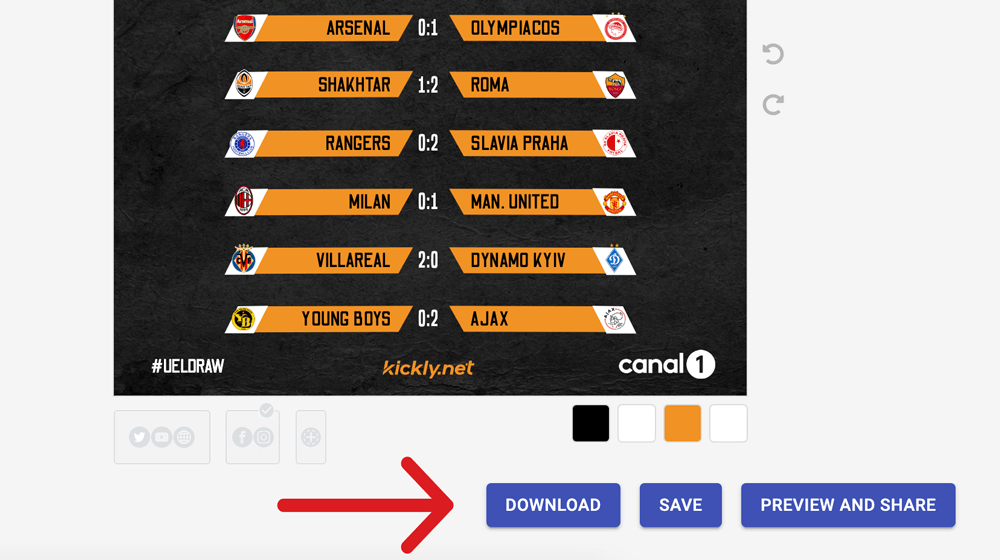
The final step is to make sure you change the color of the graphic according to your club’s brand book. You can enter a specific color code or choose a color manually from the palette.
5. Download
Hit the download button and give your fans something to love!
Some other ways to get started:
- Watch a video tutorial to learn how to use Kickly.
- Discover best practices through our articles.
- Join the waiting list for our mobile app launch.
